| Quick Answer The best hockey drills for beginners start with stopping, not shooting. Teach the snowplow stop, then the hockey stop, then crossovers, before you move to stick handling, passing, and shooting. Ten drills below run in that order, and they all work in a single 45 minute practice. The one rule that matters most: keep every skater moving with a puck instead of standing in a line. |
Every new hockey coach makes the same mistake: they run a shooting drill on day one because it is fun, and they watch 15 kids who cannot stop crash into the boards. Skating comes first, and stopping comes before anything else, because a player who cannot stop cannot play. These hockey drills for beginners are built in the order skills actually develop, from edges and stops through stick handling and passing to shooting. Before the first whistle, make sure every player is properly fitted, which our gear checklist covers, since bad skates teach bad habits every single stride.
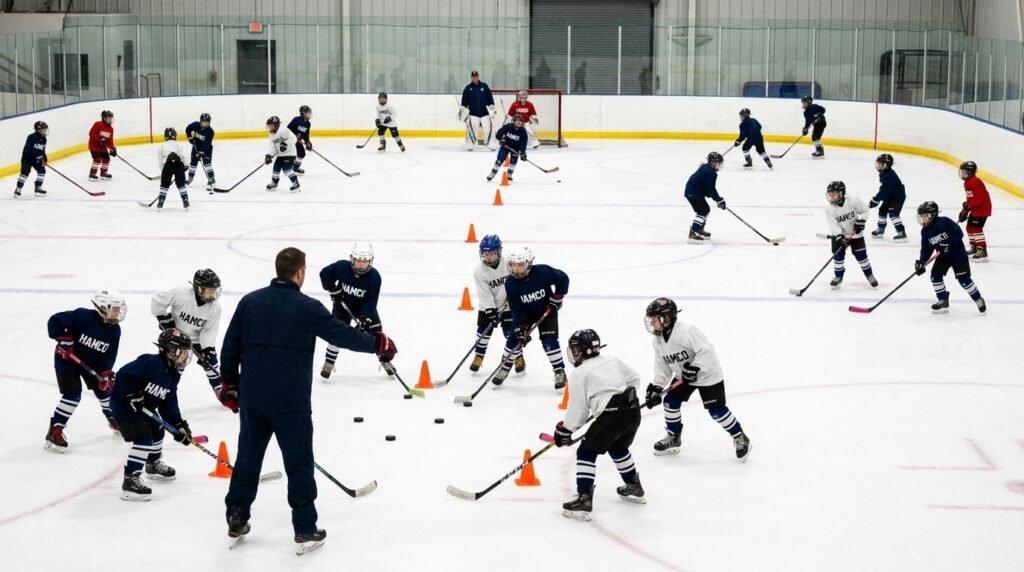
A quick word on how to use this list. These are learn to skate drills that scale up as players improve, so the same 10 work for a brand new Mite team and a rusty first year Squirt group. Run them as stations, not one long line, and you will get far more out of your ice. Whether you are building a brand new program or naming one with our team names guide, here are the youth hockey drills that build real players, starting on the skates.
Skating Drills: Edges, Stops, and Crossovers
Skating is 80 percent of hockey, and edge work is the foundation of skating. Spend more time here than feels natural. These three drills, especially the stops, are where a beginner becomes a hockey player instead of someone wearing skates.
1. Edge Work and C Cuts. Have players glide on two feet, then shift their weight to feel the inside and outside edges of each blade. Then push out and in with one foot in a C shaped cut to feel how edges create power. It looks like nothing and it is everything. 5 minutes, both feet, every practice.
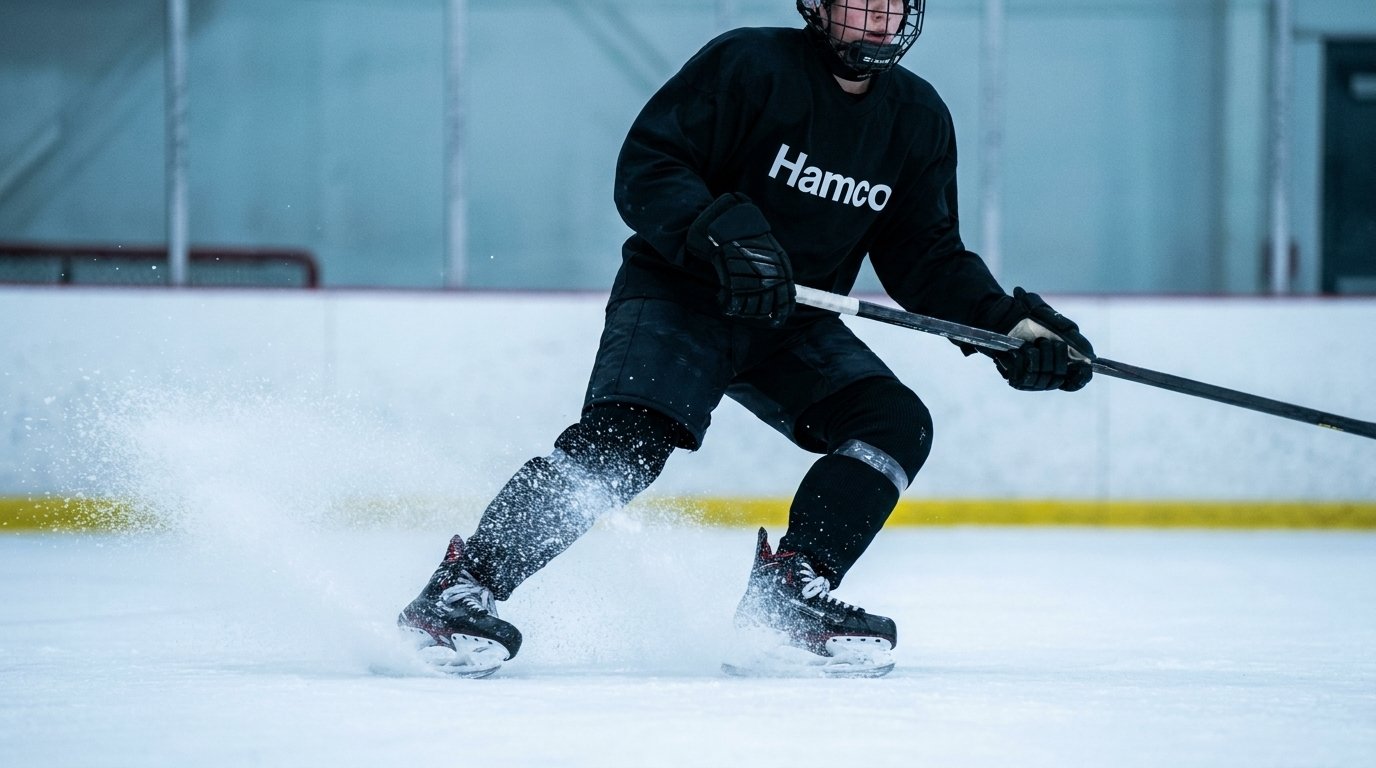
2. Snowplow to Hockey Stop. This is the drill the whole article is named for. Start with the snowplow stop, pushing both heels out and pressing the inside edges into the ice to scrape to a halt. Once that is comfortable, progress to the hockey stop: skate forward, then turn both feet sideways and dig the edges in to stop hard and spray snow. Teach it on both sides, since every beginner has a strong side and a useless side. This is the single most important skill on the list, so give it real time.
3. Crossovers Around the Circles. Using the faceoff circles as a guide, have players cross the outside foot over the inside foot to build speed around a curve. Go both clockwise and counterclockwise, because players always favor one direction. Crossovers are how skaters actually generate speed in a game, and the circles give a built in path to follow.
Stick Handling: Two Drills
Once players can stay upright and stop, add the puck. The goal at this stage is soft hands and eyes up, not fancy moves. Keep the puck on the ice and out in front where it can be seen.
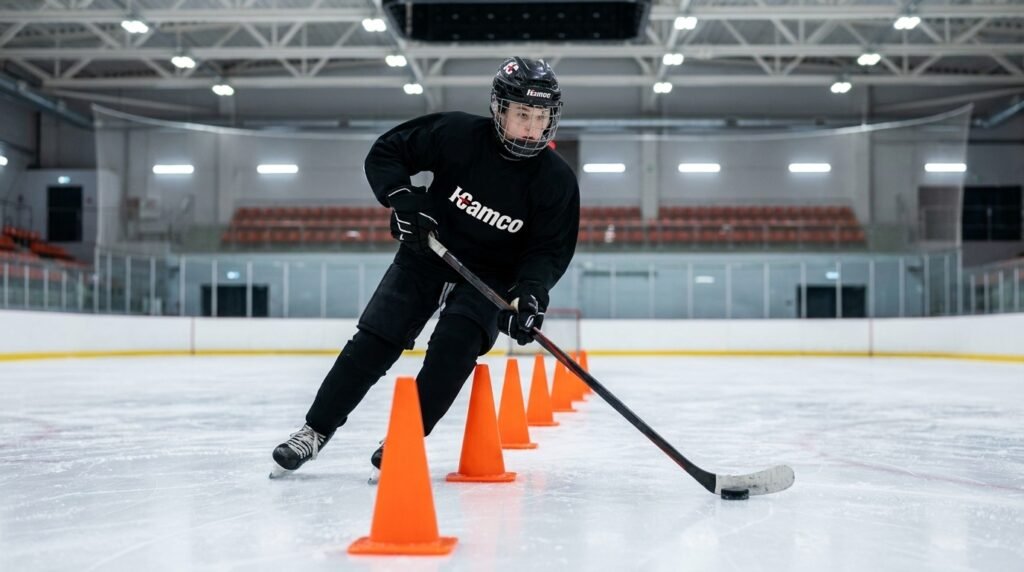
4. Stationary Stick Handling. Standing still, players move the puck side to side, then front to back, cupping it with the blade rather than slapping at it. Start looking down, then challenge them to look up at you while the puck keeps moving. Off ice, the same drill works with a ball or a green biscuit on the driveway, which our training gear guide covers for home practice.
5. Cone Weave. Set five cones in a line a stick length apart and have players weave the puck through them at a walking pace, then a jog. It combines edges, balance, and puck control in one drill, which is exactly what a young game demands. Speed comes later, control comes first.
Passing Drills: Two Drills
Passing is what turns skaters into a team, and it is the skill beginners neglect most. The coaching point never changes: pass to where the receiver is going, and cushion the catch by giving with the stick.
6. Partner Passing. Two players about 10 feet apart pass a puck back and forth, flat on the ice, receiving it softly rather than letting it bounce off a stiff blade. Count completed passes as a team to make it a game. 5 minutes, and widen the gap as they improve.
7. Give and Go on the Move. One player skates with the puck, passes to a stationary partner, keeps skating, and gets it right back, a give and go. It teaches passing while moving, which is how every real play works. Beginners find this genuinely hard, and that is the point, so keep the reps short and frequent.
Shooting: Two Drills
Shooting is the reward, and the one skill players will practice on their own for hours. Keep the focus on technique over power, because a beginner who learns to muscle the puck learns a habit that caps them later.
8. Wrist Shot From a Stationary Puck. Standing still, players sweep the puck from back foot to front, rolling the wrists over at release and following through toward the target. Aim for a spot on the boards or a corner of the net, not just anywhere. Accuracy first, power never, at this age.
9. Shooting Off a Pass. A coach or partner passes the puck, and the shooter receives it and shoots in one motion. It adds timing and a moving puck to the shot, which is far more game realistic than shooting from a dead stop. A shooting pad and a spare net at home extend this one, and our training equipment ideas cover simple setups that help.
The One Goalie Drill Non Goalies Can Run
Most youth teams do not have a dedicated goalie coach, and often not even a dedicated goalie, so here is one drill that serves everyone.
10. The Breakaway Drill. Line players up at center ice and send them in one at a time on a breakaway toward the net, finishing with a shot. If you have a goalie, they get live reps reading shooters. If you do not, put a coach in the crease or shoot at an empty net with targets in the corners. Skaters practice puck control at speed and finishing under a little pressure, the goalie practices the exact situation they fear most, and everyone is engaged. It is the rare drill that trains the whole roster at once.
The Ice Time Math
Here is the honest part that decides whether a practice works. Ice time is expensive and limited, often a single 60 minute slot that costs the club a few hundred dollars, and after gates and transitions you really have about 45 minutes to coach. The worst thing you can do with those minutes is line 15 kids up behind one puck. In a line drill, each skater might touch the puck 40 times in a whole practice. Break the same group into small stations with a puck each and that number jumps into the hundreds. The chart shows the gap, and it is the difference between a player who develops and one who stands around cold.
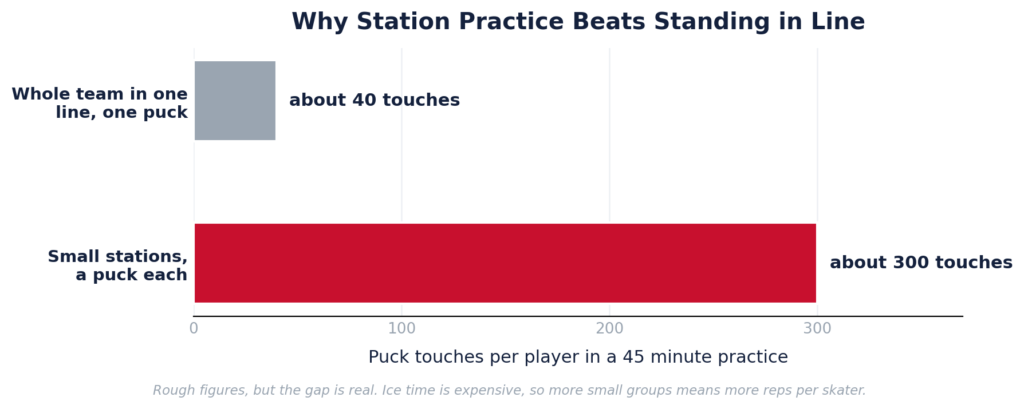
So structure every practice as stations, keep the lines short, and put a whistle on transitions so you are not losing five minutes moving between drills. Here is a simple 45 minute plan that runs all 10 drills in the order skills build.
| Block | Time | What to Run |
| Warmup laps and edges | 8 min | Drill 1, both directions |
| Stops and starts | 10 min | Drills 2 and 3, the priority for beginners |
| Crossovers | 6 min | Drill 4, around the circles |
| Stick handling stations | 8 min | Drills 5 and 6 |
| Passing | 7 min | Drills 7 and 8, partners |
| Shooting and breakaways | 6 min | Drills 9, 10, and the goalie drill |
| Total on ice | 45 min | Leaves room in a 60 minute ice slot for gates and transitions |
Cold rinks and constant practice are hard on kit, and a team that looks like a team practices like one. Once you have the sizing sorted, which our jersey sizing guide walks through, our hockey jerseys and reversible practice tops are built from durable sublimated twill that survives a full season of stops, falls, and cold water washes. Kit the whole roster in matching hockey apparel so every skater shows up ready to work from the first whistle.
Frequently Asked Questions
Q: What are the best hockey drills for beginners?
A: Start with skating and stopping, not shooting. Teach edge work, the snowplow stop, the hockey stop, and crossovers first, then add stick handling, passing, and shooting.
Q: How do you teach a beginner to stop on skates?
A: Begin with the snowplow stop, pushing both heels out and pressing the inside edges into the ice. Once that is solid, progress to the hockey stop on both sides.
Q: What should a first youth hockey practice focus on?
A: Skating. Spend most of the ice time on edges, stops, and crossovers, because a player who cannot skate and stop cannot use any other skill in a game.
Q: How much ice time does a youth hockey practice need?
A: A single 60 minute slot gives about 45 usable minutes after transitions. Run stations so every skater gets hundreds of puck touches instead of standing in a line.
Q: Can you practice hockey drills off the ice? A: Yes. Stick handling with a ball or green biscuit, shooting into a net with a shooting pad, and balance work all build skills at home between ice sessions.