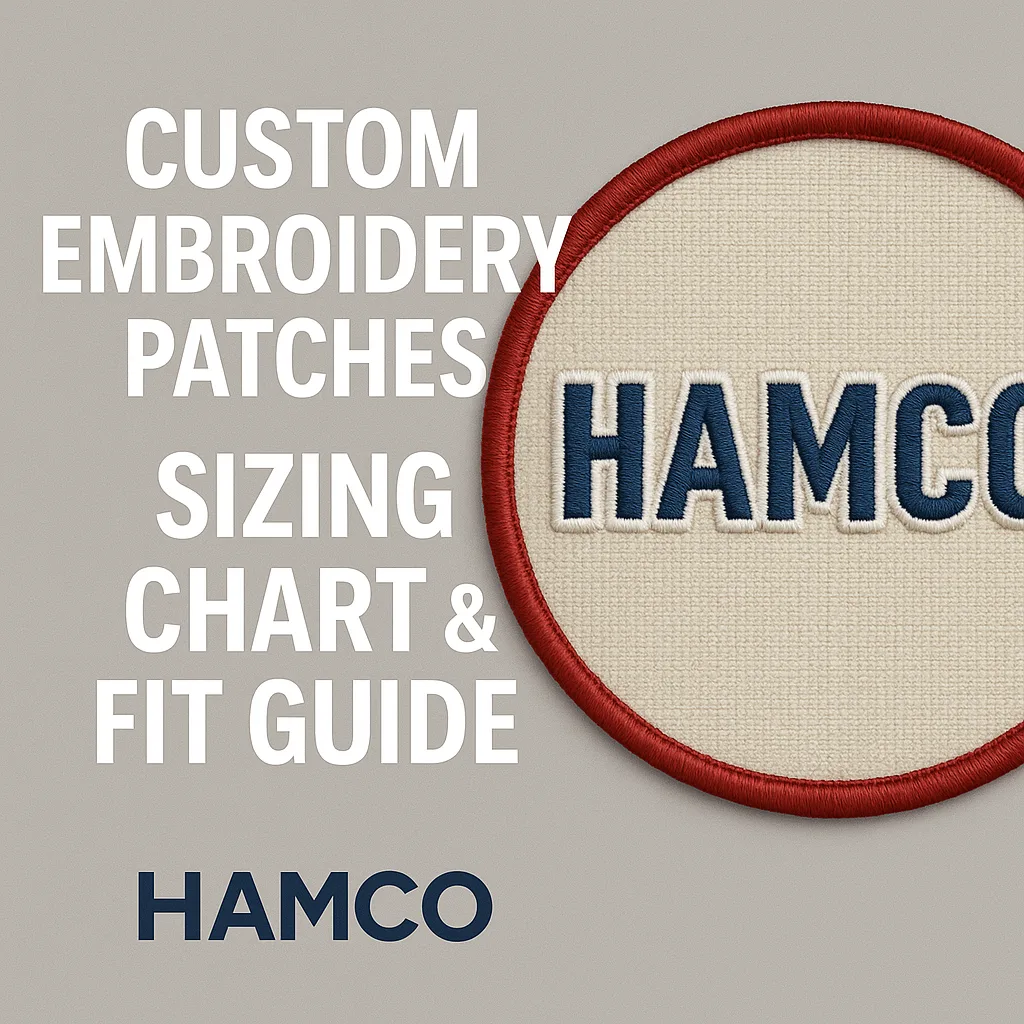
Understanding the proper sizing for custom embroidery patches is crucial for achieving professional results that enhance your team uniforms, corporate apparel, or promotional items. Whether you’re adding patches to jerseys, jackets, bags, or caps, selecting the right dimensions ensures your designs look proportional and make the desired impact. This comprehensive guide breaks down everything you need to know about patch sizing, placement, and fit considerations.
The world of custom embroidery patches offers endless possibilities for personalization, but success starts with proper sizing decisions.
Standard Patch Size Categories
When ordering custom embroidery patches, understanding standard size categories helps communicate your vision effectively.
Common Patch Dimensions
| Size Category | Dimensions | Best For | Common Uses |
|---|---|---|---|
| Micro | 1″ – 1.5″ | Subtle branding | Collar tips, pocket logos |
| Small | 2″ – 3″ | Chest logos | Name patches, team numbers |
| Medium | 3.5″ – 5″ | Standard logos | Sleeve patches, front chest |
| Large | 6″ – 8″ | Back designs | Jacket backs, team logos |
| Extra Large | 9″ – 12″ | Statement pieces | Full back designs |
Sizing by Application Type
Different applications require specific sizing considerations for custom embroidery patches.
Sports Uniform Patches
- Chest Numbers: 3″ – 4″ height for youth, 4″ – 5″ for adults
- Team Logos: 2.5″ – 3.5″ for left chest placement
- Sleeve Patches: 2″ – 3″ diameter for circular designs
- Commemorative Patches: 2″ – 2.5″ for special events
- Captain Patches: 1.5″ – 2″ letter height
Corporate Apparel
- Polo Shirt Logos: 3″ – 3.5″ width maximum
- Dress Shirt Monograms: 1″ – 1.5″ height
- Jacket Chest: 3.5″ – 4″ width
- Name Tags: 3″ x 1″ standard
- Title Patches: 3.5″ x 0.75″ below names
Placement Guidelines
Proper placement enhances the impact of custom embroidery patches on any garment.
Standard Placement Measurements
- Left Chest: 3.5″ – 4″ down from shoulder seam, centered
- Right Chest: Mirror left chest placement
- Sleeve: 1″ – 2″ below shoulder seam, centered
- Back Yoke: 4″ – 5″ down from collar seam
- Full Back: 4″ – 6″ down from collar for top edge
Size Selection by Garment Type
Different garments accommodate custom embroidery patches differently based on available space.
Garment-Specific Sizing Chart
| Garment Type | Max Chest Size | Max Sleeve Size | Max Back Size |
|---|---|---|---|
| T-Shirts | 3.5″ | 3″ | 10″ |
| Polos | 3.5″ | 2.5″ | 8″ |
| Hoodies | 4″ | 3.5″ | 12″ |
| Jackets | 4.5″ | 4″ | 14″ |
| Caps | 2.5″ x 5″ | N/A | 2″ x 3″ |
Design Complexity vs. Size
The detail level in custom embroidery patches must match the patch size for optimal results.
Minimum Size Requirements
- Text Only: 0.25″ minimum letter height
- Simple Logos: 1.5″ minimum overall size
- Detailed Designs: 2.5″ minimum for clarity
- Photorealistic: 4″ minimum recommended
- Small Text with Logo: 3″ minimum overall
Youth vs. Adult Sizing
Proportional sizing ensures custom embroidery patches look appropriate on different sized garments.
Size Scaling Guidelines
- Youth XS-S: Reduce adult sizes by 25-30%
- Youth M-L: Reduce adult sizes by 15-20%
- Youth XL: Reduce adult sizes by 10%
- Adult S-M: Standard sizing
- Adult L-XL: Standard sizing
- Adult 2XL+: Can increase by 10-15%
Shape Considerations
Different shapes of custom embroidery patches require specific sizing approaches.
Shape-Specific Guidelines
- Circular: Diameter measurement only
- Square/Rectangle: Width x Height
- Shield: Measure at widest points
- Custom Shapes: Bounding box dimensions
- Letters/Numbers: Individual character height
Border and Background Sizing
Borders affect the overall dimensions of custom embroidery patches.
Border Width Standards
- Merrowed Edge: Adds 1/8″ to overall size
- Laser Cut: No additional size
- Die Cut: Exact to artwork size
- Hand Cut: May vary ±1/8″
Multi-Patch Arrangements
When using multiple custom embroidery patch, spacing becomes crucial.
Spacing Guidelines
- Between Patches: Minimum 0.5″ gap
- From Seams: Minimum 0.75″ clearance
- From Buttons: Minimum 1″ clearance
- Vertical Alignment: Use garment centerline
- Horizontal Sets: Equal spacing throughout
Special Application Sizing
Unique applications for custom embroidery require special considerations.
Bag and Accessory Patches
- Backpacks: 3″ – 5″ for main compartment
- Duffel Bags: 4″ – 6″ for side panels
- Tote Bags: 3″ – 4″ for pocket area
- Laptop Bags: 2″ – 3″ for discrete branding
- Hat Bags: 2″ – 2.5″ maximum
Technical Specifications
Understanding technical requirements helps when ordering custom embroidery patches.
File Setup Requirements
- Resolution: 300 DPI minimum for artwork
- File Format: Vector (AI, EPS) preferred
- Size Specification: Exact dimensions required
- Bleed Area: 0.125″ for die-cut shapes
- Safety Zone: 0.25″ from patch edge
Common Sizing Mistakes
Avoid these common errors when sizing custom embroidery:
- Choosing patches too large for pocket placement
- Ignoring garment stretch when sizing
- Failing to account for border width
- Overlooking proportion on different sizes
- Cramming too much detail in small patches
Measuring for Perfect Fit
Accurate measurement ensures your custom embroidery fit perfectly.
Measurement Best Practices
- Use a flexible measuring tape
- Measure the garment laid flat
- Account for any garment curvature
- Consider washing shrinkage
- Test with paper templates first
Cost Implications of Sizing
Cost depends on the patch, the garment and the decoration method. On Hamco Sports orders, your quote shows the price.
Frequently Asked Questions
What’s the most popular size for custom embroidery patches?
The most popular size for custom embroidery patch is 3″ – 3.5″ for chest placement. This size provides excellent visibility while remaining proportional on most garments, from youth large through adult 3XL.
How do I determine the right patch size for youth uniforms?
For youth uniforms, reduce standard custom embroidery patch sizes by 20-30% depending on the child’s age. A 3″ adult chest patch becomes 2.25″ – 2.5″ for youth sizes, maintaining proper proportions.
Can patches be resized after production?
No, custom embroidery cannot be resized after production. The embroidery is permanent, so accurate sizing decisions must be made before manufacturing begins. Always approve the mockup before full production.
What’s the minimum readable text size for patches?
For custom embroidery, text should be at least 0.25″ tall to remain legible. For optimal readability, especially with script fonts, maintain 0.375″ – 0.5″ minimum height for all lettering.
How does patch placement affect size selection?
Placement significantly impacts sizing for custom embroidery patch. Curved areas like sleeves require smaller patches (2″ – 3″), while flat areas like jacket backs accommodate larger designs (up to 12″ – 14″).
Professional Sizing Tips
Maximize the impact of your custom embroidery patches with these professional tips:
- Always create paper templates before ordering
- Consider viewing distance when selecting size
- Match patch size to garment weight
- Account for washing and wear effects
- Maintain consistent sizing across uniform sets
Get the size right before production and your patches stay in proportion on youth and adult sizes alike.
Plan Your Team’s Patches with Hamco Sports
What Hamco Sports gives every team:
- ✓ Free mockup within 12 hours, with unlimited changes
- ✓ No minimum order requirements
- ✓ Free sample jerseys and fabric swatches
- ✓ Team uniforms since 2011, for more than 10,000 teams
- ✓ Ready 2 to 3 weeks after design approval, then 3 to 5 days to ship
On our baseball, softball and football letterman jackets, chenille patches and embroidery are included in the price.
Call 760-994-3555 or get your free quote. A real person replies within 1 hour, Mon to Sat 9am to 6pm ET.